A pipe clamp is only as effective as its installation. In commercial systems, improper tightening severely compromises overall structural integrity. This failure routinely leads to catastrophic fluid leaks, intense acoustic vibrations, or failed compliance inspections. Historically, technicians rely on tactile "feel" rather than documented torque specifications. This subjective approach introduces critical points of failure across commercial plumbing, HVAC, and seismic support systems. You cannot afford to guess when building safety is on the line. We designed this article to provide a clear, evidence-based framework for proper installation. You will learn how to select the right tools and accurately verify manufacturer torque specs. We also outline how to standardize your installation practices. Implementing these steps ensures maximum safety and consistent long-term performance across your entire facility.
Key Takeaways
Torque Precision is Non-Negotiable: Under-tightening causes leaks and pipe shifting; over-tightening damages the pipe structure and shears clamp threading.
Application Dictates the Method: Specialized supports like a Seismic Sway Clamp require entirely different torque values and safety redundancies compared to a standard Rubber Lined Clamp.
Tool Selection Mitigates Risk: Calibrated torque wrenches are mandatory for compliance; uncontrolled impact drivers are the leading cause of installation failure.
Standardized Inspections Prevent Failures: Implementing routine visual and mechanical checks ensures long-term system stability and reduces maintenance liabilities.
The True Cost of Improper Pipe Clamp Installation
Every time you install a piping support, you create a vital structural node. When executed incorrectly, the physical consequences threaten the entire building. Let us first look at the physics of failure. Over-tightening initiates thread galling. This phenomenon occurs when excessive friction essentially welds the nut and bolt threads together. Severe over-tightening also leads to sudden bolt shear. The fastener simply snaps when applied stress exceeds its tensile limit.
Furthermore, over-tightening heavily deforms the pipe wall itself. Materials like copper, PVC, and thin-wall stainless steel are particularly vulnerable to this crushing force. Applying excessive pressure also destroys vibration-damping materials. It crushes the rubber pads, instantly eliminating their acoustic isolation properties.
Conversely, under-tightening presents equally dangerous risks to your facility. Loose fittings permit system depressurization and create active fluid leaks. The pipe loses critical lateral stability. This mobility frequently leads to severe water hammer damage. Hydraulic shock waves rattle the loose pipes against their supports, compounding the physical damage. Furthermore, loose clamps guarantee immediate non-compliance during routine building code inspections.
Your primary success criteria must always be achieving a balanced mechanical hold. You must secure the load firmly to prevent shifting. However, you must simultaneously preserve the structural integrity of the pipe and the fastener.
Essential Tools and Torque Specifications
Using the correct equipment eliminates guesswork from your installations. Required installation tools start with calibrated manual torque wrenches. You can choose either dial-type models for visual confirmation or click-type models for audible feedback during final tensioning. Pair these wrenches with deep-well sockets explicitly tailored to your specific hex-nut dimensions.
We must emphasize a critical warning here. You should strictly prohibit uncontrolled pneumatic or electric impact drivers for final tightening. Impact drivers operate far too aggressively. They introduce micro-fractures into the metal hardware. They drastically increase the risk of over-torquing and strip threads in a fraction of a second.
Understanding your specific torque specs is equally vital. Always navigate the manufacturer technical data sheets (TDS) carefully. You must recognize the fundamental differences between inch-pounds (in-lbs) and Newton-meters (Nm). These values fluctuate constantly based on the exact hardware grade and the bolt diameter you are using.
Additionally, you need to understand the profound impact of lubrication on bolt tension. Technical data sheets specify either "dry" or "wet" torque values. A lubricated, or "wet", bolt requires significantly less rotational force to achieve the exact same clamping tension. Ignoring this distinction easily causes you to over-tighten, leading to ruptured pipes or sheared bolts.
Step-by-Step Installation: Correct Practices vs. Common Mistakes
Proper assembly requires a disciplined, step-by-step approach. Pre-installation preparation serves as your first line of defense against system failure. You should meticulously inspect the hardware for thread damage, rust, or sharp burrs. Always check for compromised or torn rubber linings before proceeding.
You must also verify pipe alignment prior to clamp placement. Never use the fastener to pull misaligned pipes into position. Forcing alignment creates permanent sheer stress on the joint, which guarantees eventual fatigue failure.
When you move to the tightening sequence, follow these structured steps:
Perform a final visual inspection of all threaded rods and nut mating surfaces.
Align the piping system accurately and passively within the housing.
Hand-thread the nuts until they make flush contact with the metal flange. This manual start ensures proper thread engagement and entirely prevents cross-threading.
Use your calibrated wrench to alternate tightening between bolts. This alternating pattern guarantees even pressure distribution across the entire pipe surface.
Apply continuous, smooth pressure until you reach the specified target value. Never jerk the wrench, as this causes dangerous tension spikes.
To further standardize your approach, review this simple operational checklist:
Action Type
Installation Practice
Expected Outcome
Do
Measure the gap on two-piece clamps continuously.
Ensures symmetrical tightening and prevents uneven stress distribution.
Do
Clean all threads thoroughly before inserting bolts.
Reduces false torque readings caused by trapped debris friction.
Don't
Use the clamp to force misaligned pipes together.
Prevents excessive lateral loading and premature joint fatigue.
Don't
Apply extra leverage via unapproved cheater bars.
Avoids stripped threading and immediate structural fastener failure.
Tightening Guidelines for Specialized Clamps
Different industrial systems demand unique clamping solutions. Therefore, you must adapt your tightening methods based on the specific hardware application you encounter.
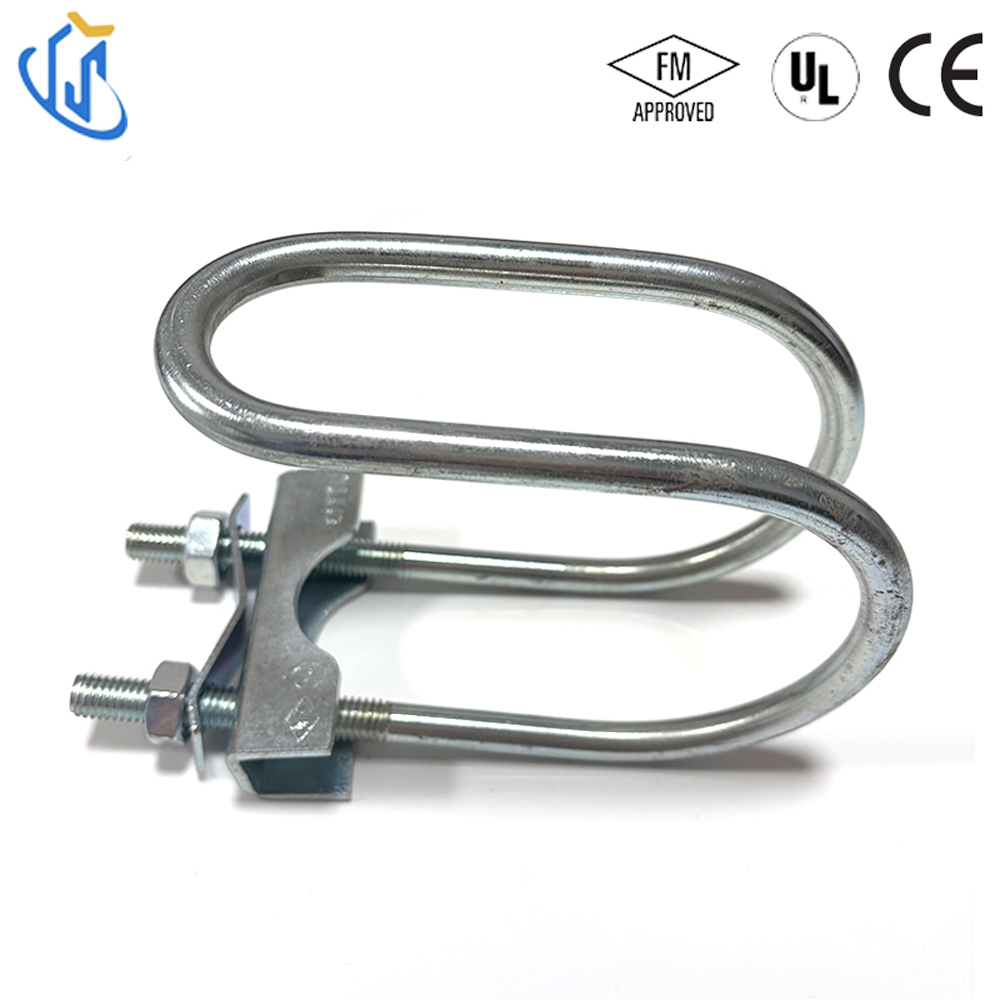
U-Type Lateral Clamp
The primary application focus here revolves around lateral pipe restriction. When utilizing a U-Type Lateral Clamp, precision prevents unwanted system sway. The definitive tightening rule is highly straightforward. You must ensure the U-bolt nuts are torqued evenly on both sides of the strut or mounting beam. This critical symmetry effectively prevents off-axis stress from transferring directly onto the piping infrastructure.
Split Steel Clamp
Contractors typically choose this hardware for heavy-duty vertical and horizontal suspension. A Split Steel Clamp requires robust, uncompromising installation. The core tightening rule mandates that torque must strictly adhere to the designated bolt grade specifications. You must constantly watch for symmetrical ear gaps as you tighten. Keeping these gaps perfectly parallel avoids dangerous clamping fatigue over decades of use.
Rubber Lined Clamp
This hardware variant focuses heavily on acoustic isolation and systemic vibration damping. Installing a Rubber Lined Clamp demands a significantly softer touch. Your tightening rule relies heavily on careful visual evaluation. Stop tightening when the rubber insert firmly compresses against the pipe surface. You must stop before the rubber begins to bulge, warp, or extrude past the steel edges.
Seismic Sway Clamp
These critical devices provide mandatory structural rigidity during severe seismic events. A properly installed Seismic Sway Clamp protects entire commercial facilities from catastrophic collapse. The golden tightening rule here demands absolute engineering compliance. These models often feature specialized break-off bolt heads designed to shear off at the exact required torque. We emphasize strict compliance with NFPA or local seismic codes. You must also guarantee your bracing angles are mathematically correct before applying final tension.
Post-Installation Safety Standards and Performance Audits
Installation completion does not mean the job is over. Proper post-installation safety standards ensure your piping network functions correctly for decades. You must verify the initial work through documented visual inspections.
First, establish strict visual inspection criteria for your team. We strongly advise checking for uniform thread exposure on all bolted connections. Uneven threads quickly indicate a misaligned or rushed installation. Next, closely look for any signs of pipe pinching or rubber extrusion. These symptoms confirm severe over-tightening that requires immediate correction.
You also need rigorous maintenance and retorquing schedules. Physical environments change constantly inside industrial facilities. Thermal expansion and contraction require a mandatory 30-day post-installation torque audit. Fasteners naturally loosen as temperatures fluctuate and metals expand. We recommend establishing an ongoing maintenance schedule based entirely on system vibration. For example, highly active chiller lines require far more frequent audits than static plumbing runs.
Finally, prioritize evaluating vendor reliability before installation even begins. Procurement teams carry immense responsibility in this phase. Your shortlisting logic should demand verified torque charts and rigorous compliance certifications from manufacturers. Look specifically for UL, FM, or strict seismic approvals before committing to a purchase. Reliable vendors provide the transparent engineering data you need to execute safe, predictable installations.
Conclusion
Properly tightening a pipe clamp remains a deliberate engineering decision, never an operational guess. Haphazard installations create unnecessary vulnerabilities throughout your entire facility. Standardizing your approach delivers immediate, measurable benefits to your operations.
Adhering strictly to documented torque specs drastically reduces the frequency of fluid leaks.
Implementing standardized installation practices guarantees a much longer structural system lifespan.
Using calibrated manual tools ensures immediate and verifiable building code compliance.
Executing routine post-installation audits protects your infrastructure against thermal shifting and vibration.
We strongly urge you to consult official technical specification sheets before beginning any commercial project. Reach out and contact a specialized support team to source the exact engineered clamps your specific application demands.
FAQ
Q: Can I use an impact driver to tighten pipe clamps?
A: We strongly discourage using an impact driver for final tightening. These powerful tools operate too fast and prevent you from measuring torque accurately. Consequently, they frequently cause stripped threads, crushed pipes, and compromised rubber linings. Always use a calibrated manual torque wrench to finalize your connections safely.
Q: How do I know if my rubber-lined clamp is too tight?
A: Visual cues are your best indicator. If the rubber EPDM lining squeezes out of the metal housing, the torque is too high. Additionally, if the pipe shows any signs of structural crimping, you have exceeded the safe mechanical limits. The rubber should compress firmly without bulging outward.
Q: Do torque requirements change based on pipe material?
A: Yes, they absolutely do. Plastic materials like PVC or CPVC, alongside soft copper tubing, require significantly less torque than heavy carbon steel pipes. Applying steel-level torque to plastics causes immediate structural crushing. Always refer to your manufacturer's material-specific guidelines before applying tension.
Q: What happens if a seismic sway clamp is under-torqued?
A: An under-torqued seismic support completely fails to provide the engineered rigid bracing required during an earthquake. This looseness allows dangerous lateral pipe movement. Consequently, it leads to catastrophic system failure, ruptured main lines, and an immediate violation of local structural safety codes.
Utterly TY Intelligent Technology Co.,Ltd. is a high-tech private enterprise integrating product design, research and development, sales and installation.